Quick Start
Login and Site Selection
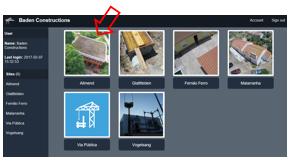
Login to your personal area in the Mosquito3D website and choose a site.
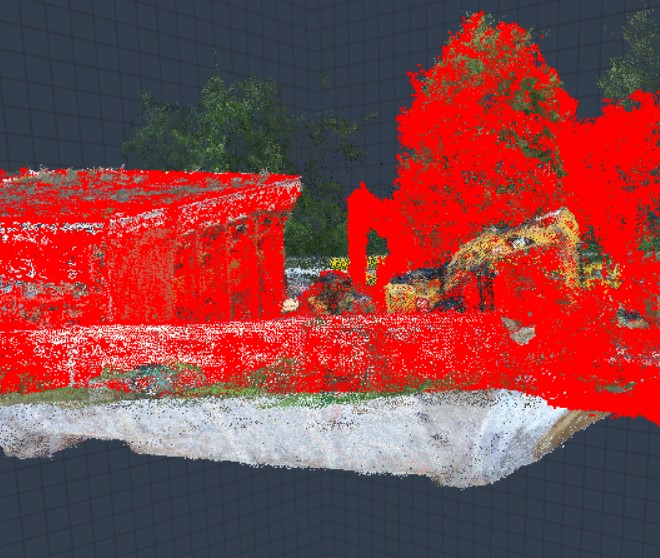
You will now see a reconstruction of the site.
Controlling Visualization
You can set visual parameters in the settings box.
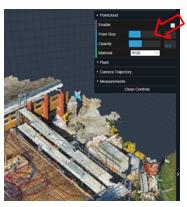
See the section on Center Pane for a description of the settings.
High Resolution Images
By clicking button 1 in the figure below, you can then click a point in the scenery and see a high resolution 2D photograph of the area.
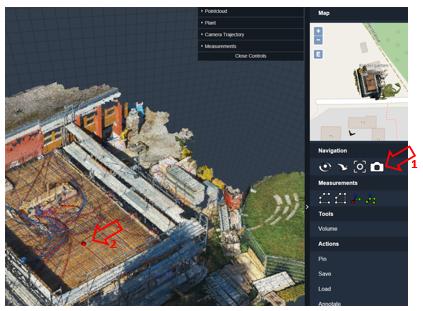

These images can be zoomed using the mouse wheel.
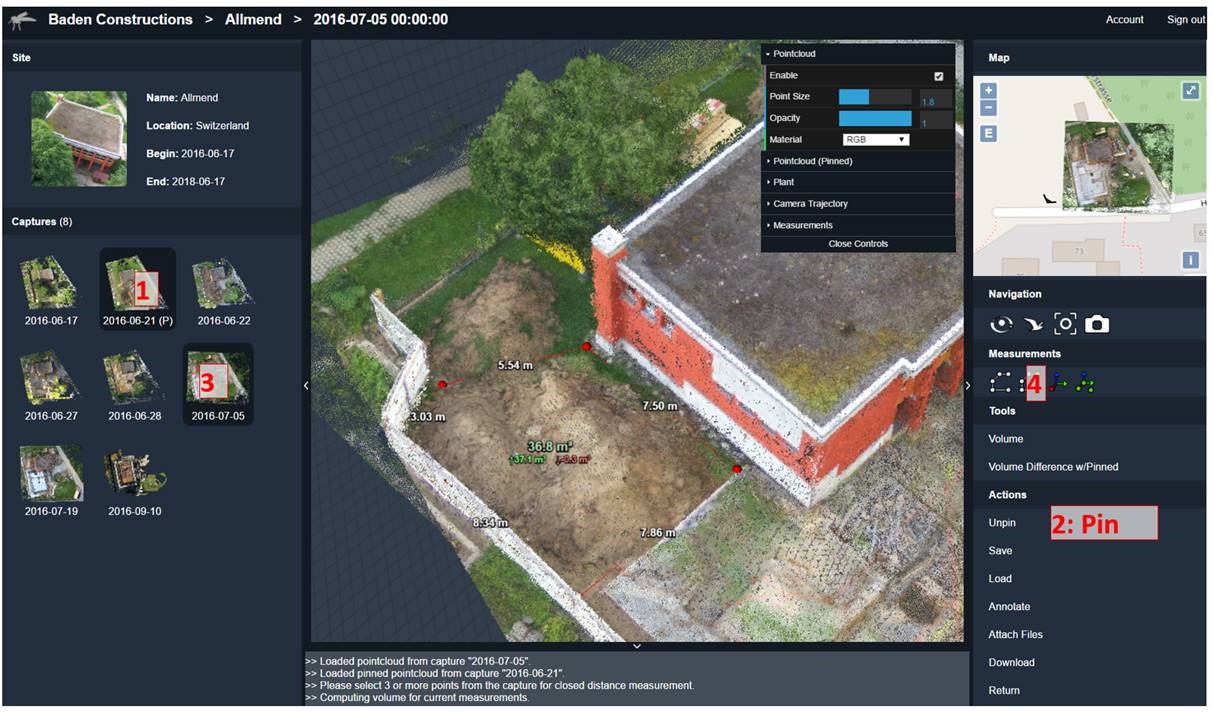
Reconstruction comparison
You can compare the reconstruction conditions and, for example, quickly measure volume changes.
- select the first building state (on the left pane).
- click on “Pin” (bottom right).
- Select the second building state (in this example after completion of the excavation). The two point clouds will appear superimposed.
- Define an area (for example, landfill hills or the excavation pit) with the area definition button on the right pane (marked “4” in the figure)
- Compute the volume (figures in the picture in \text{m}^3, green is the landfill, red is the excavation).
Also, by choosing the “Color” dropdown menu in the “Pointcloud” settings box you can force a fixed color for a particular reconstruction to aid visual inspection.